Shooting the Night Sky in the UAE Desert — A Practical Guide
How to photograph the Milky Way and stars in the UAE desert: where to go for dark skies, what settings actually work, the gear that matters, and how to stay safe out there at night.
Shooting the Night Sky in the UAE Desert
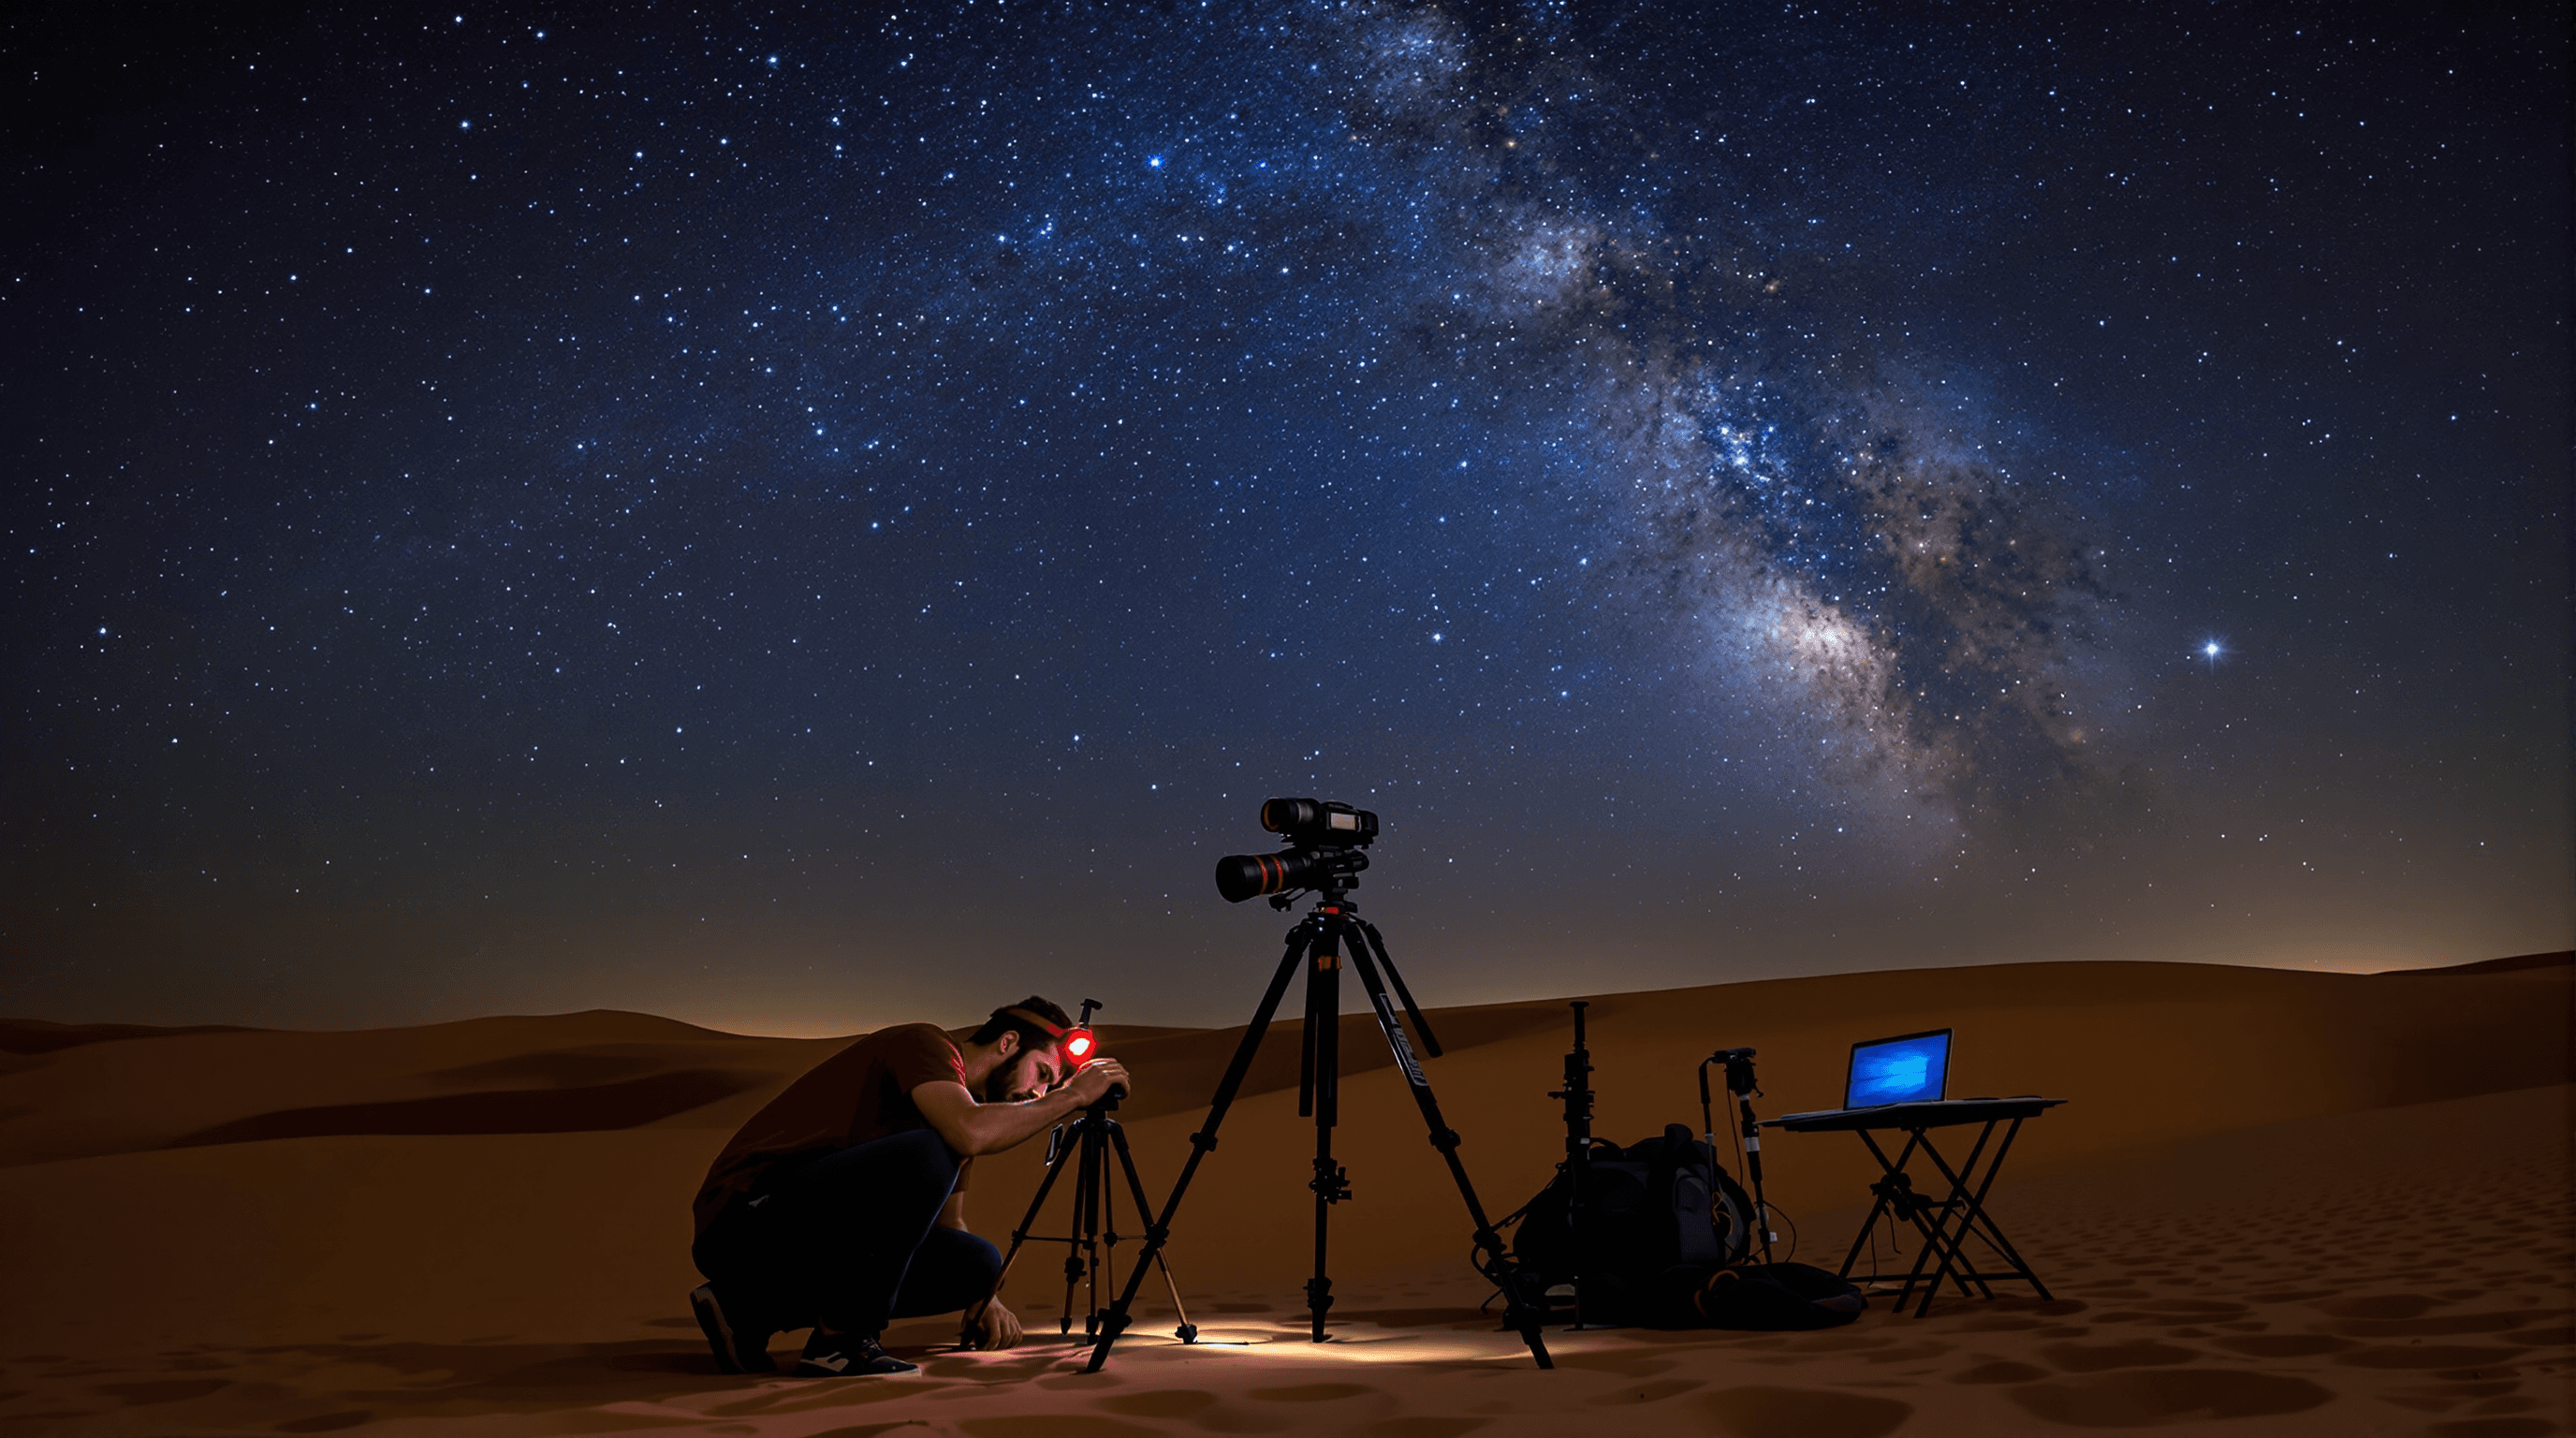
The first time you drive an hour out of the city, switch off the engine and let your eyes adjust, the sky genuinely surprises you. Stars you never knew were there, and on a clear moonless night the Milky Way arcing right over the dunes. The UAE has the rare advantage of a proper dark desert sitting close to a major city, and you don't need to be an astronomer to make the most of it — just a camera that shoots in manual, a tripod, and a bit of patience.
This is what I've learned getting decent night-sky shots out here, what gear actually earns its place in the bag, and the safety stuff that matters far more at night than people expect.
Where to go for dark skies
The honest answer is "far enough from city light that you can see the Milky Way with your naked eye." A few areas that work well:
- Al Qudra, out past Bab Al Shams, is the easy one. It's close to Dubai, the horizons are flat and open, and it's a sensible place to learn. You'll still get some glow from the city to the north, but it's good enough for wide Milky Way shots.
- Liwa, deep in the Empty Quarter south of Abu Dhabi, is the real prize. It's a long drive and you need to be set up for proper desert travel, but the skies down there are about as dark as the country gets, with huge dunes for foregrounds.
- Sweihan and the Al Faya / Fossil Rock area east of Dubai also work, with rock formations that make for more interesting compositions than open sand.
Wherever you go, get there before dark so you can scout a foreground and find safe ground to park. A free app like PhotoPills or Stellarium will show you where the Milky Way core will rise and when, so you can plan the composition in daylight.
If you're not confident heading into remote sand at night on your own, go with people who know the area. Our off-road clubs directory is a good place to find groups that run night drives.
Settings that actually work
Night-sky photography is one of the few times you put the camera fully in manual and leave it there. The rough starting point most people land on:
- Manual mode, shooting RAW so you have room to recover the image later.
- Aperture wide open, or close to it — f/2.8 if your lens has it, f/4 if not. The more light, the better.
- ISO around 3200 as a starting point, then adjust to taste. Most modern full-frame bodies handle 3200–6400 fine; crop sensors get noisier sooner.
- Exposure of 15–25 seconds. Beyond that the stars start to streak as the earth turns. The wider your lens, the longer you can go — the "500 rule" (500 divided by your focal length) is a quick way to estimate the limit.
A few small things that make a real difference: turn off long-exposure noise reduction and lens stabilisation when you're on a tripod, and trigger the shutter with a 2-second timer or a remote so you're not nudging the camera.
Focusing in the dark is the part people struggle with. Autofocus won't lock onto a star. Switch to manual focus, use live view zoomed in on the brightest star you can find, and turn the ring until it's a sharp point rather than a blur. Check it again after you've moved the camera — focus drifts.
Gear that earns its place
You can start with whatever camera you already own that shoots manual and RAW, plus the widest, fastest lens you have. A 14–24mm or 16–35mm zoom is the classic Milky Way setup, but a kit lens at its widest will get you going.
What you genuinely shouldn't skip:
- A solid tripod. This matters more than the camera. Sand gives way under the legs, so push the feet in until they're on firm ground and don't extend the centre column if you can avoid it.
- A head torch with a red light. White light wrecks your night vision (and everyone else's) for several minutes. Red keeps you able to see your gear without blinding yourself.
- Spare batteries and a power bank. Long exposures and the cold drain batteries faster than you'd think. Keep spares warm in an inside pocket.
- A simple intervalometer, or your camera's built-in interval timer, if you want to do star trails or time-lapse.
Optional, once you're hooked: a small star tracker (the Sky-Watcher Star Adventurer is the common entry point) lets you take longer exposures of the sky without the stars streaking, which opens up fainter targets. It's a step up in complexity, so don't rush into it.
Dust is the real enemy out here. Keep lens changes to a minimum, do them with your back to any breeze, and bring a blower and a microfibre cloth. If the wind picks up and starts moving sand, pack the camera away — it's not worth a scratched sensor.
When to go
Two things drive the timing: the moon and the season.
For the Milky Way and faint stars you want a dark sky, which means shooting around the new moon or before the moon rises. A bright moon washes out everything except the brightest stars. That said, a thin crescent or low moon can be useful — it throws just enough light on the dunes to give your foreground some shape.
Season-wise, the cooler half of the year — roughly October through March — is far more pleasant and the air tends to be clearer and more stable. Nights are cold enough to be comfortable working and the conditions are usually better. Summer nights are doable but brutal: the heat lingers well past midnight and there's more haze. The Milky Way's bright core is best placed in the pre-dawn hours through winter and rides higher overhead through summer.
For checking conditions on the night, the Clear Outside app gives a decent read on cloud cover and how transparent the sky will be.
Star trails, the easy creative shot
If chasing the Milky Way feels fiddly, star trails are a forgiving place to start. You point the camera, fire off a long series of frames back to back, and stack them later into those sweeping arcs of light.
The basic recipe: set an interval timer to take consecutive exposures with almost no gap between them, dial the ISO down (lower noise stacks better), and let it run. Half an hour gives you short arcs; a couple of hours gives you long sweeping ones. The free program StarStaX stacks the frames into the final image, or you can blend them in Photoshop.
Aim a little south of straight up for the most dramatic arcs from this latitude, and frame a strong foreground — a lone tree, a dune ridge, your parked truck — because the trails on their own can look empty.
A note on processing
Don't judge your shots by what comes straight out of the camera — night-sky RAW files look flat and grey until you work on them. A normal edit pulls the Milky Way out of the murk: lift the contrast, bring up the structure in the dust lanes, balance the colour, and gently knock back noise. Lightroom does everything a beginner needs; people who get serious move to dedicated tools later. The one habit worth forming early is not overcooking it — pushing the sliders too hard turns stars into mush and the sky an unnatural blue.
Staying safe out there
This is the part that's easy to overlook because the photography is the fun bit, but at night in the desert it matters most.
- Tell someone where you're going and when you'll be back. Phone signal disappears in the remote spots, so don't count on calling for help.
- Don't go solo into deep sand. A second vehicle is the difference between a delay and a genuine emergency if one gets stuck.
- Carry water, warm layers and recovery gear. Desert nights get genuinely cold in winter, and a stuck car at 1am is a different problem than the same thing in daylight.
- Watch the weather. Wind can pick up fast and blowing sand drops visibility to nothing.
If your recovery skills are rusty, brush up before you rely on them in the dark — our guide to recovery gear covers the basics, and a proper course is worth doing if you're new to desert driving.
A few common questions
How far from Dubai do I need to go? Around an hour will get you somewhere dark enough to see and shoot the Milky Way — Al Qudra is the usual first stop. The further from city glow you get, the better it looks, with Liwa being the gold standard if you're up for the drive.
Do I need permits? For general photography in open public desert, no. But protected reserves and private camps have their own rules, so check before heading into any area that's signposted or fenced.
Can I do this with a basic camera? Yes, as long as it shoots in manual and saves RAW. A wide, fast lens helps and a tripod is non-negotiable, but you don't need a top-end body to get a result you'll be happy with.
Reviewed by experienced desert drivers. Our team personally visits operators and tests courses across the UAE.
Explore the Directory
Find off-road clubs, courses, garages and events across Dubai & UAE.
View Directory →